
Keeping your washing machine clean isn’t just a chore—it’s essential for maintaining a hygienic home, extending the lifespan of your appliance, and ensuring your clothes come out smelling fresh every time. Over time, washing machines accumulate detergent residue, lint, hard water minerals, and even mold, which can lead to unpleasant odors, reduced cleaning efficiency, and potential breakdowns. In this comprehensive guide, we’ll walk you through everything you need to know about cleaning your washing machine, from basic maintenance to deep cleans. Whether you have a top-load or front-load model, we’ll cover tailored steps, natural remedies, commercial products, and pro tips to keep your machine running like new.
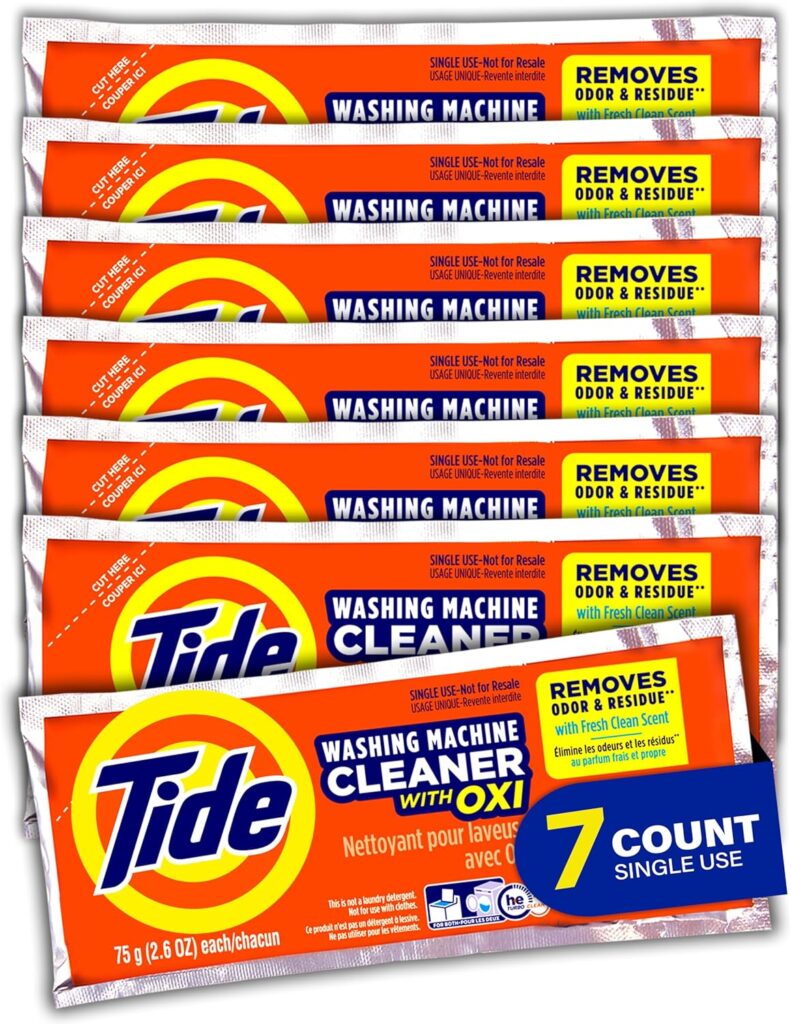
As a bonus, I’ve sourced a reliable product for effortless cleaning: the Tide Washing Machine Cleaner (7-count pack), available directly on Amazon at this link. This Oxi-powered cleaner is designed for both front- and top-loaders, providing up to seven months of use with deep residue and odor elimination. (Note: If you’re using an affiliate link, simply replace the above with your personalized Amazon affiliate URL for seamless integration.) how to clean your washing machine
Let’s dive in and transform your laundry day.
Why Cleaning Your Washing Machine Matters
Your washing machine works tirelessly, handling everything from sweaty gym clothes to delicate linens, but it doesn’t clean itself. Without regular maintenance, it becomes a breeding ground for bacteria and grime. Detergent buildup, for instance, can form a slimy film inside the drum, trapping odors and preventing clothes from getting truly clean. Hard water minerals exacerbate this, creating scale that clogs hoses and reduces water flow, while lint and fabric fibers accumulate in filters and pumps.
The benefits of a clean machine are clear: fresher laundry, energy savings (a clogged machine uses more power), and fewer repairs. According to appliance experts, a well-maintained washer can last 10-13 years, but neglect can shave years off that. Plus, in households with allergies or sensitivities, removing mold and mildew prevents irritants from transferring to fabrics. Cleaning isn’t optional—it’s an investment in your home’s health.
The Hidden Dangers of a Dirty Washer
Beyond odors, a dirty washing machine can harbor E. coli and other bacteria from soiled loads, potentially contaminating clean clothes. In front-load models, the rubber gasket (door seal) is notorious for trapping moisture, leading to black mold growth. Top-loaders aren’t immune; their agitators can hide grime that redeposits on clothes. Regular cleaning mitigates these risks, ensuring your machine operates efficiently and safely.
Signs Your Washing Machine Needs a Deep Clean
Don’t wait for a full-blown problem—spot the red flags early. Here are common indicators:
- Musty or Mildew Smells: If your laundry emerges with a damp, earthy odor, mold is likely at play.
- Visible Residue: White flakes on clothes or in the drum signal detergent or mineral buildup.
- Poor Cleaning Performance: Clothes feel stiff or dingy? Your machine might not be rinsing properly.
- Excessive Vibration or Noise: Clogs can unbalance the load.
- Water Leaks: Often from blocked hoses or filters.
If you’ve noticed two or more of these, schedule a clean immediately. For preventive care, aim to clean monthly or after every 30-40 loads.
Essential Tools and Products for Washing Machine Cleaning
Gathering the right supplies makes the process straightforward. You have two main options: natural, budget-friendly methods or commercial cleaners for convenience.
Natural Cleaners
These are eco-friendly and often already in your pantry:
- White Vinegar: Acts as a natural descaler and deodorizer. Use distilled to avoid streaks.
- Baking Soda: Neutralizes odors and scrubs away grime.
- Liquid Chlorine Bleach: Kills bacteria but use sparingly—check your manual, as it’s not suitable for all models.
- Hot Water: Leverages your machine’s hottest cycle for sanitizing.
Commercial Products
For a hands-off approach, opt for specialized cleaners like the Tide Washing Machine Cleaner we mentioned earlier. These tablets or liquids dissolve residue without scrubbing and are formulated for HE (high-efficiency) machines. Other popular choices include Affresh tablets or Glisten Washer Magic, which tackle limescale and biofilm effectively.
Basic Tools
- Soft cloths or microfiber towels
- Old toothbrush for scrubbing crevices
- Bucket for soaking parts
- Gloves to protect your hands
Pro Tip: Always unplug your machine before manual cleaning to avoid electrical hazards.
Step-by-Step Guide: Cleaning a Top-Load Washing Machine
Top-load washers are straightforward to clean, thanks to their open design. This process takes about 1-2 hours, including cycle time.
Preparation
- Empty the Machine: Remove any laundry or debris from the drum.
- Check the Manual: Confirm your model’s cleaning cycle (e.g., “Basket Clean” on GE washers).
- Unplug if Needed: For exterior or part removal.
Step 1: Run a Cleaning Cycle
- Add your cleaner: For natural, pour 1 cup white vinegar or 4 tablespoons baking soda directly into the drum. For commercial, drop in one Tide tablet.
- Select the hottest water setting and longest cycle (e.g., “Whites” or “Clean Washer”).
- Let it run fully—this agitation loosens buildup.
- After completion, run a rinse-and-spin cycle with plain water to flush residues.
Why this works: Hot water (at least 140°F) activates the cleaner’s enzymes, dissolving soap scum and killing 99% of bacteria.
Step 2: Clean the Agitator
Many top-loaders have a removable agitator (the central column).
- Lift it out (twist or pull per manual).
- Soak in a bucket with hot soapy water and 1/2 cup baking soda for 30 minutes.
- Scrub with a brush, focusing on grooves where lint hides.
- Rinse thoroughly and reinstall.
If non-removable, pour vinegar around the base and run a short cycle.
Step 3: Tackle the Dispensers and Filters
- Pull out the detergent drawer; rinse under hot water.
- Use a toothbrush dipped in vinegar solution to scrub compartments.
- For the pump filter (usually at the front base), unscrew and clean out debris. Expect lint balls—dispose immediately to prevent clogs.
Step 4: Wipe Down the Interior and Exterior
- Use a damp cloth with mild soap to wipe the drum, lid, and sides.
- Dry completely with a towel to prevent moisture buildup.
- Vacuum around the base for dust bunnies.
Post-Clean Care
Leave the lid open for 2-4 hours to air dry. Repeat every 30 loads for optimal results.
Step-by-Step Guide: Cleaning a Front-Load Washing Machine
Front-loaders are efficient but prone to gasket mold due to their sealed design. Expect 1.5-2.5 hours for a full clean.
Preparation
- Gather Supplies: Emphasize gasket cleaner—vinegar excels here.
- Run an Empty Cycle First: This loosens initial grime.
Step 1: Deep Clean the Drum
- Add cleaner to the drum: One Tide tablet or 2 cups vinegar.
- Avoid the dispenser—direct addition ensures full contact.
- Choose the “Tub Clean” or hottest sanitize cycle (90-120 minutes).
- If no dedicated cycle, use “Normal” on hot with extra rinse.
Caution: Skip bleach if your manual warns against it, as it can damage seals in some models.
Step 2: Focus on the Rubber Gasket
This is crucial—mold loves the folds.
- Pull back the seal gently.
- Wipe with a vinegar-soaked cloth, getting into every crease.
- For tough spots, sprinkle baking soda and scrub with a toothbrush.
- Dry thoroughly; a fan speeds this up.
Consumer Reports recommends this weekly to prevent recurrence.
Step 3: Clean Dispensers and Door
- Remove the drawer (pull firmly); soak in hot soapy water.
- Scrub with an old toothbrush—detergent caked here causes overuse.
- Wipe the glass door inside and out.
Step 4: Access the Filter and Hoses
- Locate the front-bottom access panel; twist off the filter.
- Rinse under water, removing pet hair or coins.
- Inspect hoses for kinks; flush with vinegar if scaled.
Step 5: Exterior and Surrounds
- Damp cloth for the control panel (avoid excess water).
- Clean the floor beneath to catch spills.
Finishing Touches
Prop the door open post-clean. For HE models, this step is non-negotiable to combat humidity.
Natural vs. Commercial Cleaners: A Detailed Comparison
| Aspect | Natural Methods (Vinegar/Baking Soda) | Commercial Products (e.g., Tide Cleaner) |
| Cost | Low ($1-2 per clean) | Moderate ($10-15 for 6-7 uses) |
| Effectiveness | Good for light buildup; eco-friendly | Superior for heavy residue; enzyme-based |
| Ease of Use | Requires measuring/mixing | Simple—drop and run |
| Safety | Safe for all fabrics/septics | Check labels; some bleach-free |
| Frequency | Monthly for maintenance | Every 30-40 loads |
| Environmental Impact | Biodegradable; no harsh chemicals | Varies; opt for septic-safe options |
Natural options shine for sustainability, but commercials like Tide save time and penetrate deeper. Experiment to find your fit—many alternate between them.


Advanced Maintenance: Preventing Buildup Before It Starts
Cleaning reactively is fine, but prevention is better. Implement these habits:
- Leave Doors Open: Airflow dries the interior, curbing mold.
- Use HE Detergent: Less suds mean less residue in efficient machines.
- Occasional Hot Washes: Balance cold loads with hot ones to flush grime.
- Wipe After Use: Quick gasket swipe prevents moisture traps.
- Water Softener: If hard water is an issue, add a softener monthly.
For families, clean after heavy-use periods like post-vacation. Track cycles via your machine’s app if smart-enabled.
Troubleshooting Common Washing Machine Cleaning Issues
Even with best efforts, hiccups happen. Here’s how to handle them:
- Persistent Odors: Run a bleach cycle (if safe) or call a pro for hidden clogs.
- Bleach Smell Lingers: Extra rinses or baking soda neutralizes it.
- Filter Won’t Budge: Soak in warm water first; use pliers gently.
- Machine Won’t Drain: Clear the pump hose—debris is the culprit 80% of the time.
- Eco-Friendly Alternatives Failing?: Switch to a stronger vinegar concentration or professional service.
If issues persist, consult your manual or a technician—DIY has limits.
Conclusion: Refresh Your Routine Today
A clean washing machine is the foundation of spotless laundry and a healthier home. By following these steps—whether natural scrubs or a quick Tide tablet run—you’ll banish odors, boost efficiency, and add years to your appliance. Start with a deep clean this weekend, then maintain monthly. Your clothes (and nose) will thank you.
Remember, the Tide Washing Machine Cleaner is an easy entry point: Grab it on Amazon here. Happy laundering!
Frequently Asked Questions
Q: How often should I clean my washing machine?
A: Monthly or every 30 loads for most households. High-use families may need bi-weekly.
Q: Can I use bleach in every washer?
A: No—check your manual. It’s great for top-loaders but risky for some front-load seals.
Q: Is cleaning safe during warranty?
A: Yes, as long as you follow guidelines. Harsh abrasives void coverage.
Q: What if I have a washer-dryer combo?
A: Clean the washer portion as usual; dry cycle heat helps, but wipe vents separately.
Q: Do pod detergents cause more buildup?
A: They can if overused—measure properly to avoid.
Q: How do I clean a vintage or non-HE machine?
A: Similar steps, but use less cleaner to match lower water volumes.
For more tailored advice, reference your model’s resources.